Getting Started
Get FileMind up and running in under ten minutes. This guide covers installation, the first-run setup wizard, and your first library scan. It describes FileMind 0.4.4-beta.
System Requirements
| Minimum | Recommended | |
|---|---|---|
| OS | Windows 10 or later | Windows 11 |
| RAM | 8 GB | 16 GB (for local AI models) |
| Disk | ~880 MB download, ~2.5 GB installed | Plus ~2.5 GB for the built-in AI model, or 2–10 GB for an Ollama model |
| GPU | Not required | An NVIDIA GPU speeds up local AI models considerably |
The search and OCR models are bundled with the installer, so scanning, indexing and search all work with no internet connection. Choosing a language model is a required step in setup — Ask needs one, and rename proposals fall back to it. If you choose the built-in model it is downloaded at that point; the Ollama and LM Studio options use a model already on your machine, and the cloud options need only a key.
Installation
- Download
FileMind-Setup-0.4.4-beta.exefrom the download page - Run the installer. The beta is not code-signed yet, so Windows shows a blue Windows protected your PC screen. Click More info, then Run anyway. The download page explains the prompt and publishes the SHA-256 checksum so you can verify the file first.
- FileMind appears in your Start menu and launches when the installer finishes
FileMind currently ships for Windows only. A macOS build is planned — every license already covers both platforms, so there's nothing further to buy when it ships. Beta builds update themselves: when a newer beta is published, FileMind downloads it in the background and installs it on the next restart.
First Launch
On first launch FileMind opens the five-step Setup Wizard: a welcome screen, your library location and folders, a language model, the first scan, and a short tour. Choosing the built-in model is the quickest route — one click, no account, no separate install — but Ollama, LM Studio, and cloud API keys are all supported.
Your First Scan
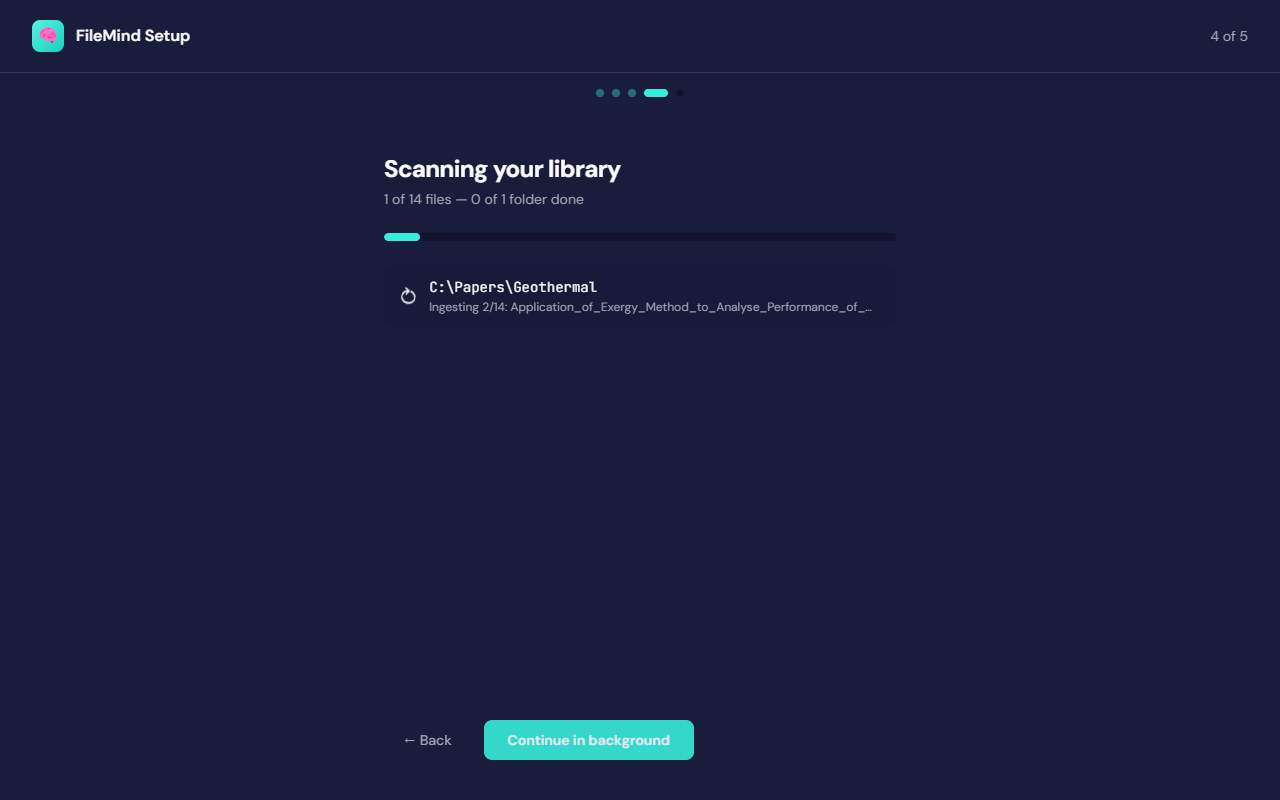
The wizard runs the first scan for you as soon as you have chosen a model. To scan more folders later:
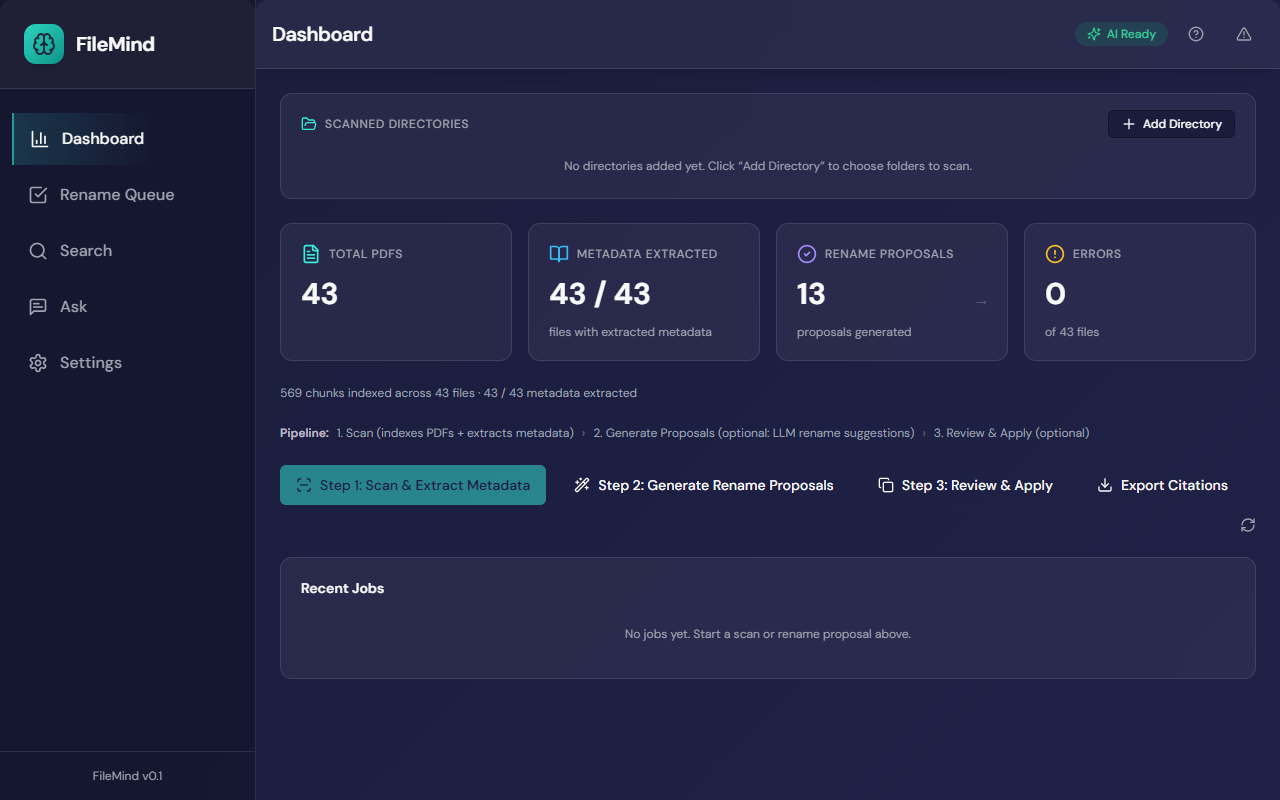
- On the Dashboard, click Add Directory and choose a folder — FileMind scans recursively through subfolders
- Click Step 1: Scan & Extract Metadata
- Watch progress in Recent Jobs. You can keep using the app — the stat cards update as papers are indexed
- Click Step 2: Generate Rename Proposals, then review them in the Rename Queue
What Happens During a Scan
For each PDF, FileMind:
- Extracts text — native extraction for digital PDFs, in reading order, with running headers and footers removed
- Scores text quality — pages with too little or too garbled text are routed to OCR
- Runs OCR when needed — PaddleOCR is bundled and runs locally, so scanned papers become searchable too. Files are marked Clean text, Partial OCR, OCR only, or Failed
- Detects identifiers — looks for a DOI or arXiv ID in the first pages
- Looks up metadata — arXiv's API for arXiv papers, Crossref for DOIs and titles. Both are free and unmetered, which is why they run by default; OpenAlex is off by default because its anonymous daily budget runs out on a first scan
- Parses heuristically — extracts title, authors, and year from the document layout when no lookup matches
- Chunks and embeds the text — for exact, semantic, and hybrid search, and for the related-papers list on every paper
Rename proposals are a separate step so you decide when they are generated. That step composes a filename from the validated metadata and may fall back to the language model only when the deterministic methods fail. See Rename Workflow.